Implementing PayTo
PayTo is not enabled by default in Sandbox. Please contact Monoova to enable this feature on your sandbox account.
Setting up a PayTo agreement is simple:
First, you create a Payment Agreement between a payer and payee. The terms of the agreement determine the amount and schedule of allowed debits. When you create a Payment Agreement, the account is validated in real-time, so you can ensure the account details are correct.
Next, the payer approves the agreement through their banking app before it expires.
Finally, you can initiate a payment. If successful, funds will be credited to your account in real time. Because recipients can access funds faster than traditional direct debit systems, this is particularly beneficial for businesses or individuals relying on prompt cash flow payments.
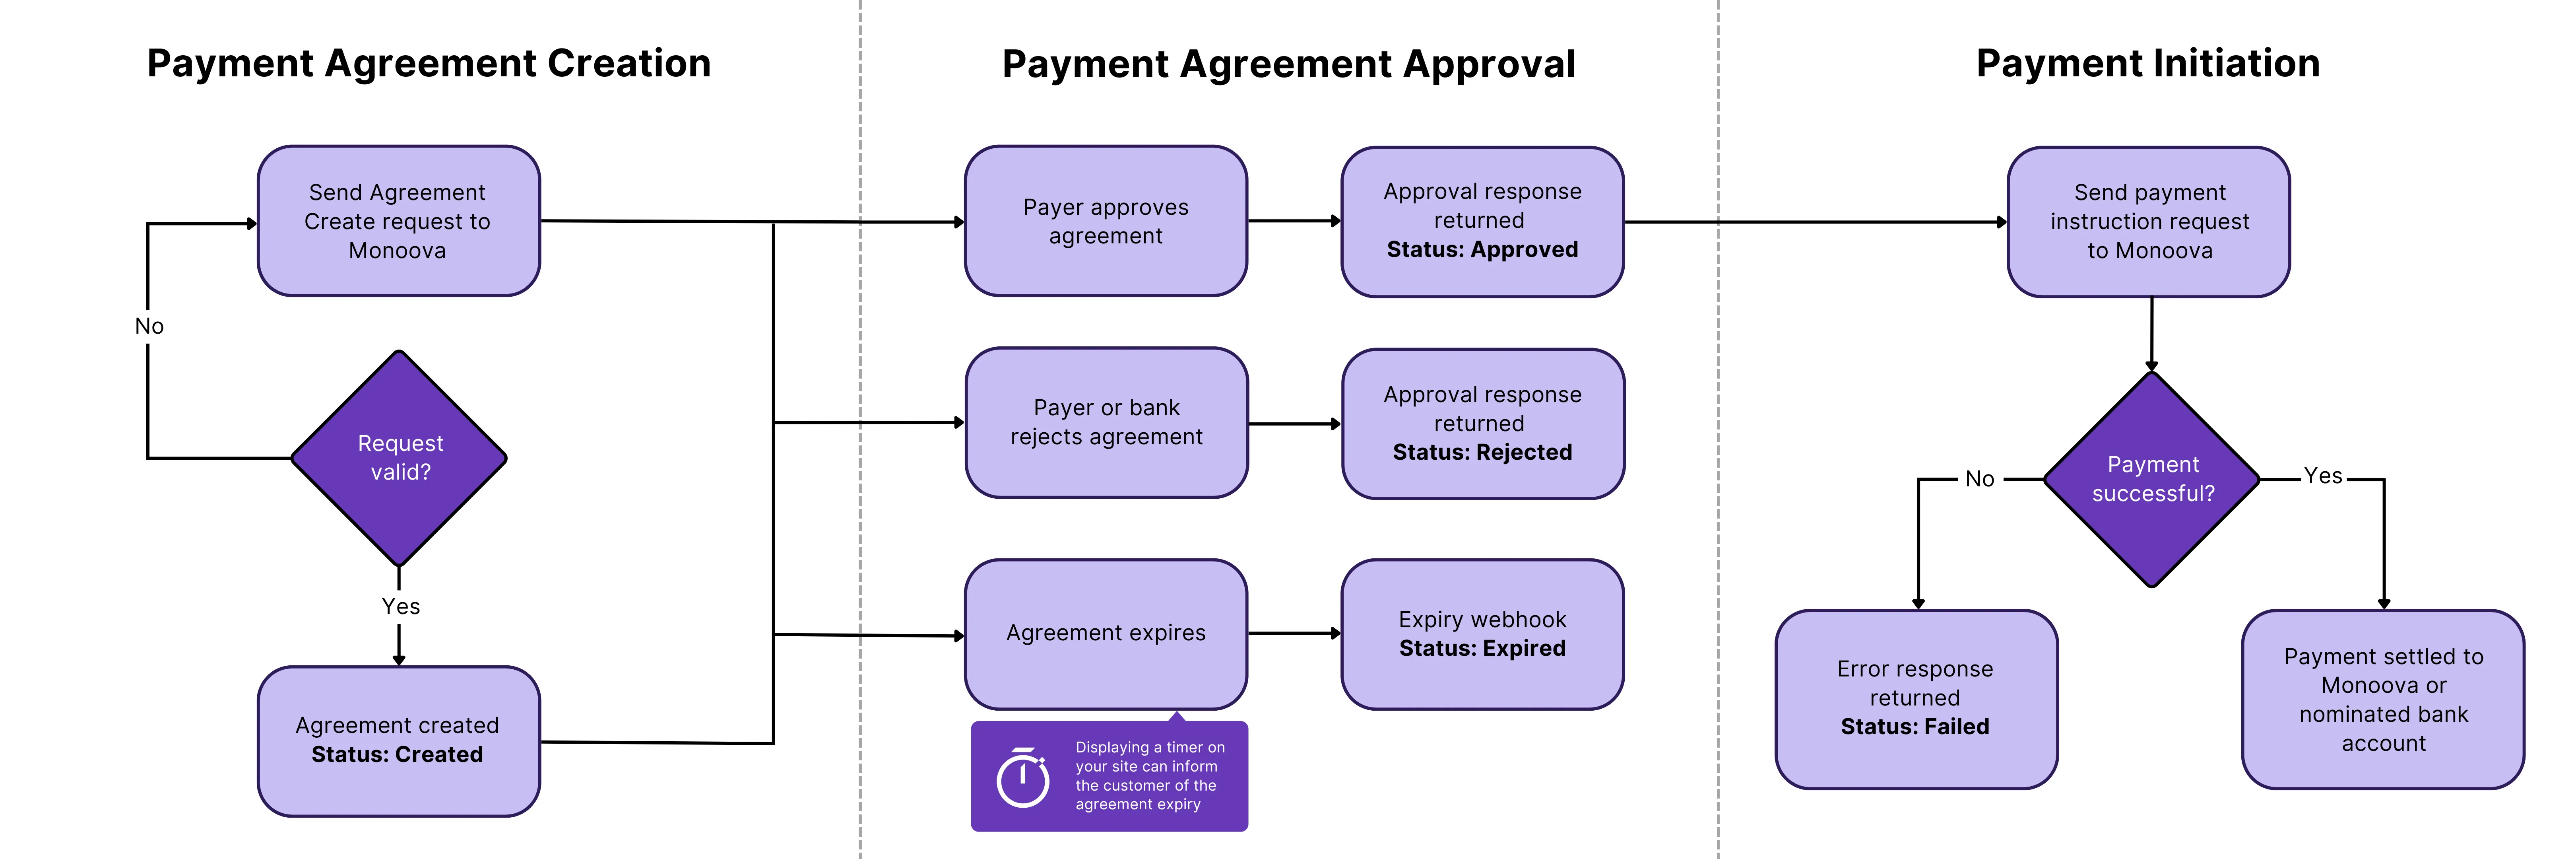
Creating an Agreement
An agreement between yourself and the payer is required before you can debit their account. This agreement sets out the terms of payment, including the frequency, dates, and amounts that will be debited.
Payers will need to authorise the agreement through their online banking or bank app before you can send a payment initiation.
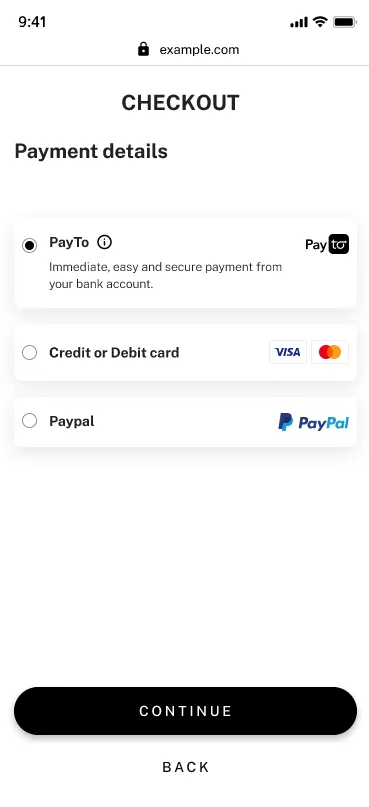
Adding PayTo as an option to your application or checkout is simple; customers can be prompted to select it as a payment method where multiple payment options are available.
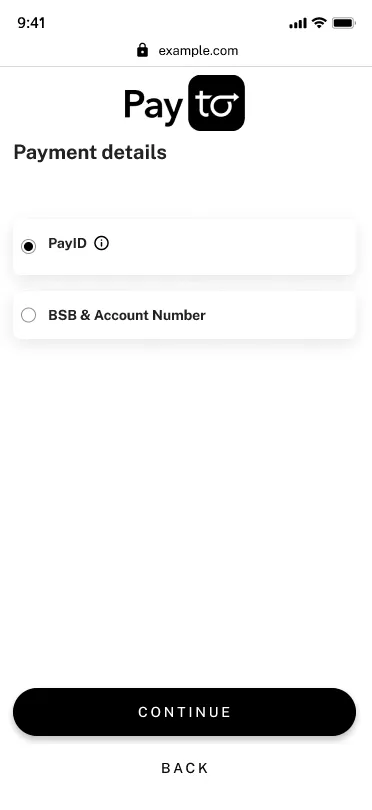
Customers can choose to supply their PayID or BSB & Account Number; these will be validated when creating the agreement, and debited when a payment initiation is created.
Use this information to populate a POST call to create a Payment Agreement. Once a call has been made to this endpoint, the customer will automatically receive the agreement information in their online banking to accept.
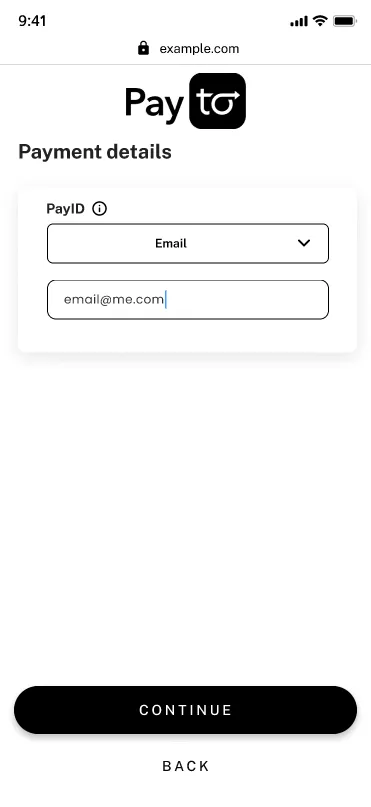
Serving information on how customers can accept their agreement on your UI can increase authorisation rates.
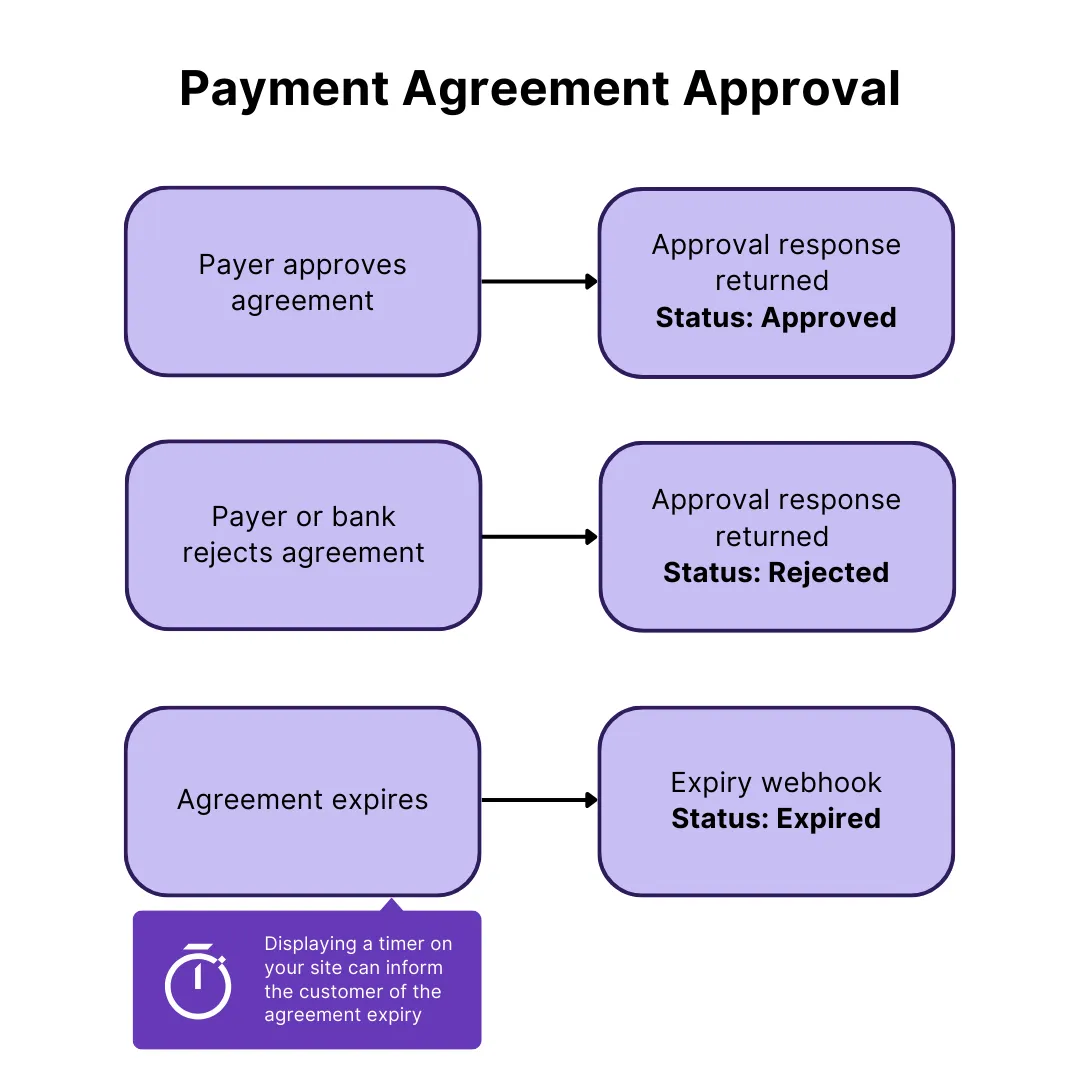
Once the customer has accepted the agreement, you’ll receive a webhook advising the agreement is approved. You can use this webhook to update the UI with a success or failure message to reinforce that the agreement has been set up.
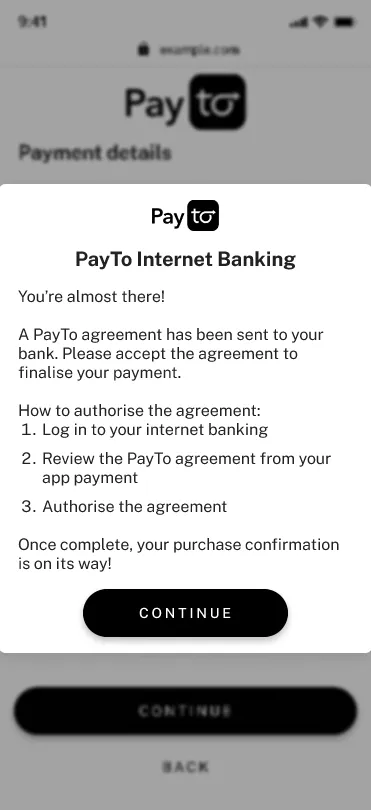
Subscribe to the PaymentAgreementNotification event to receive this notification. This webhook returns the status of an agreement when it’s approved, declined, expired, or cancelled.
Initiating a Payment
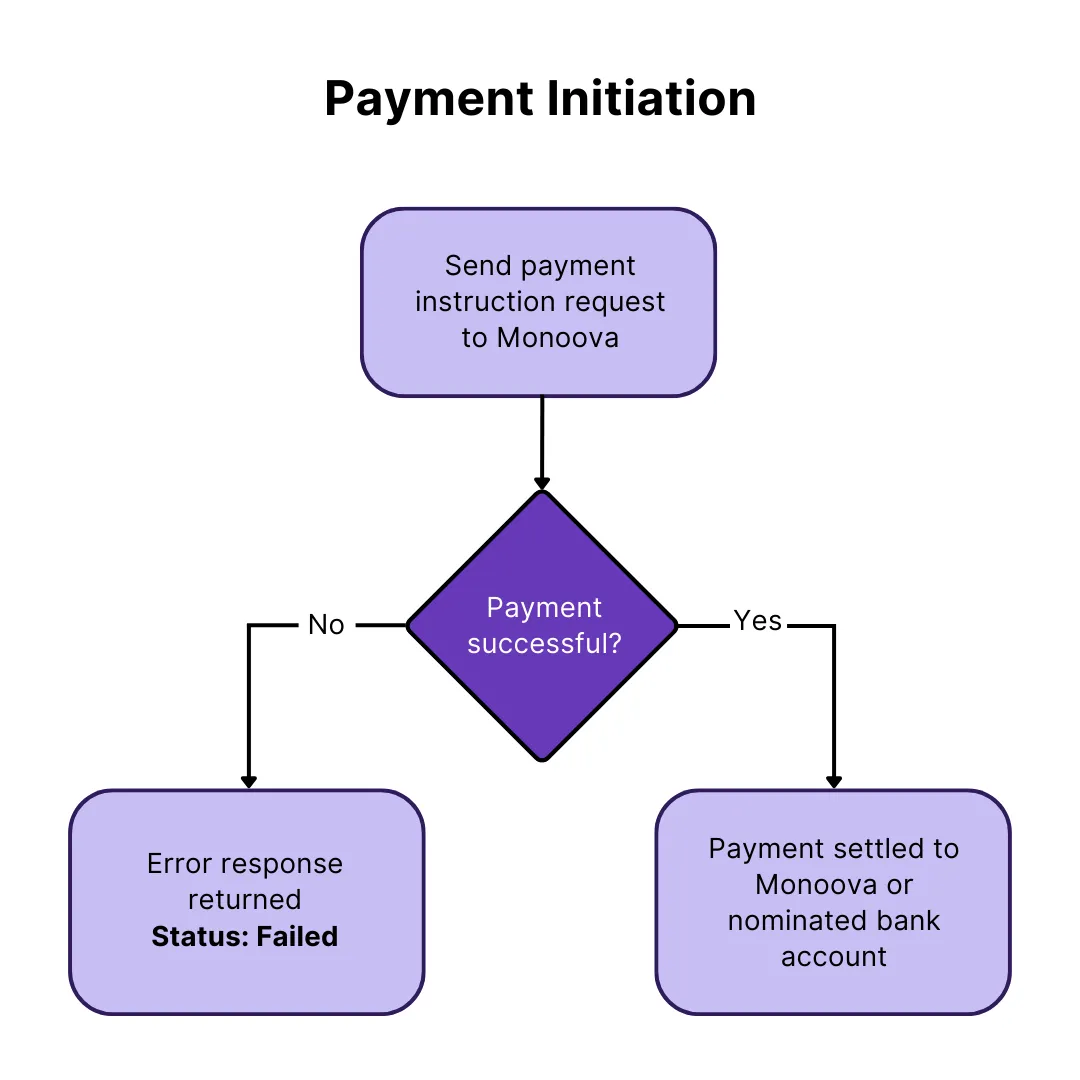
Once the payer has approved an agreement you can initiate a payment by calling the Create payment instruction endpoint.
This endpoint takes the agreement ID and the payment amount and validates it against the agreement. If this payment matches the agreement terms it will be debited from the payers account in real time.
Subscribing to the PayToReceivePayment webhook event will allow you to see when payment is settled to your account. Payments can be settled to your Monoova mAccount, a Ledger Account, or directly to your external bank account.
Refunding a Payment
To refund a payment, pass the payment instruction ID or agreement ID to the refund endpoint.